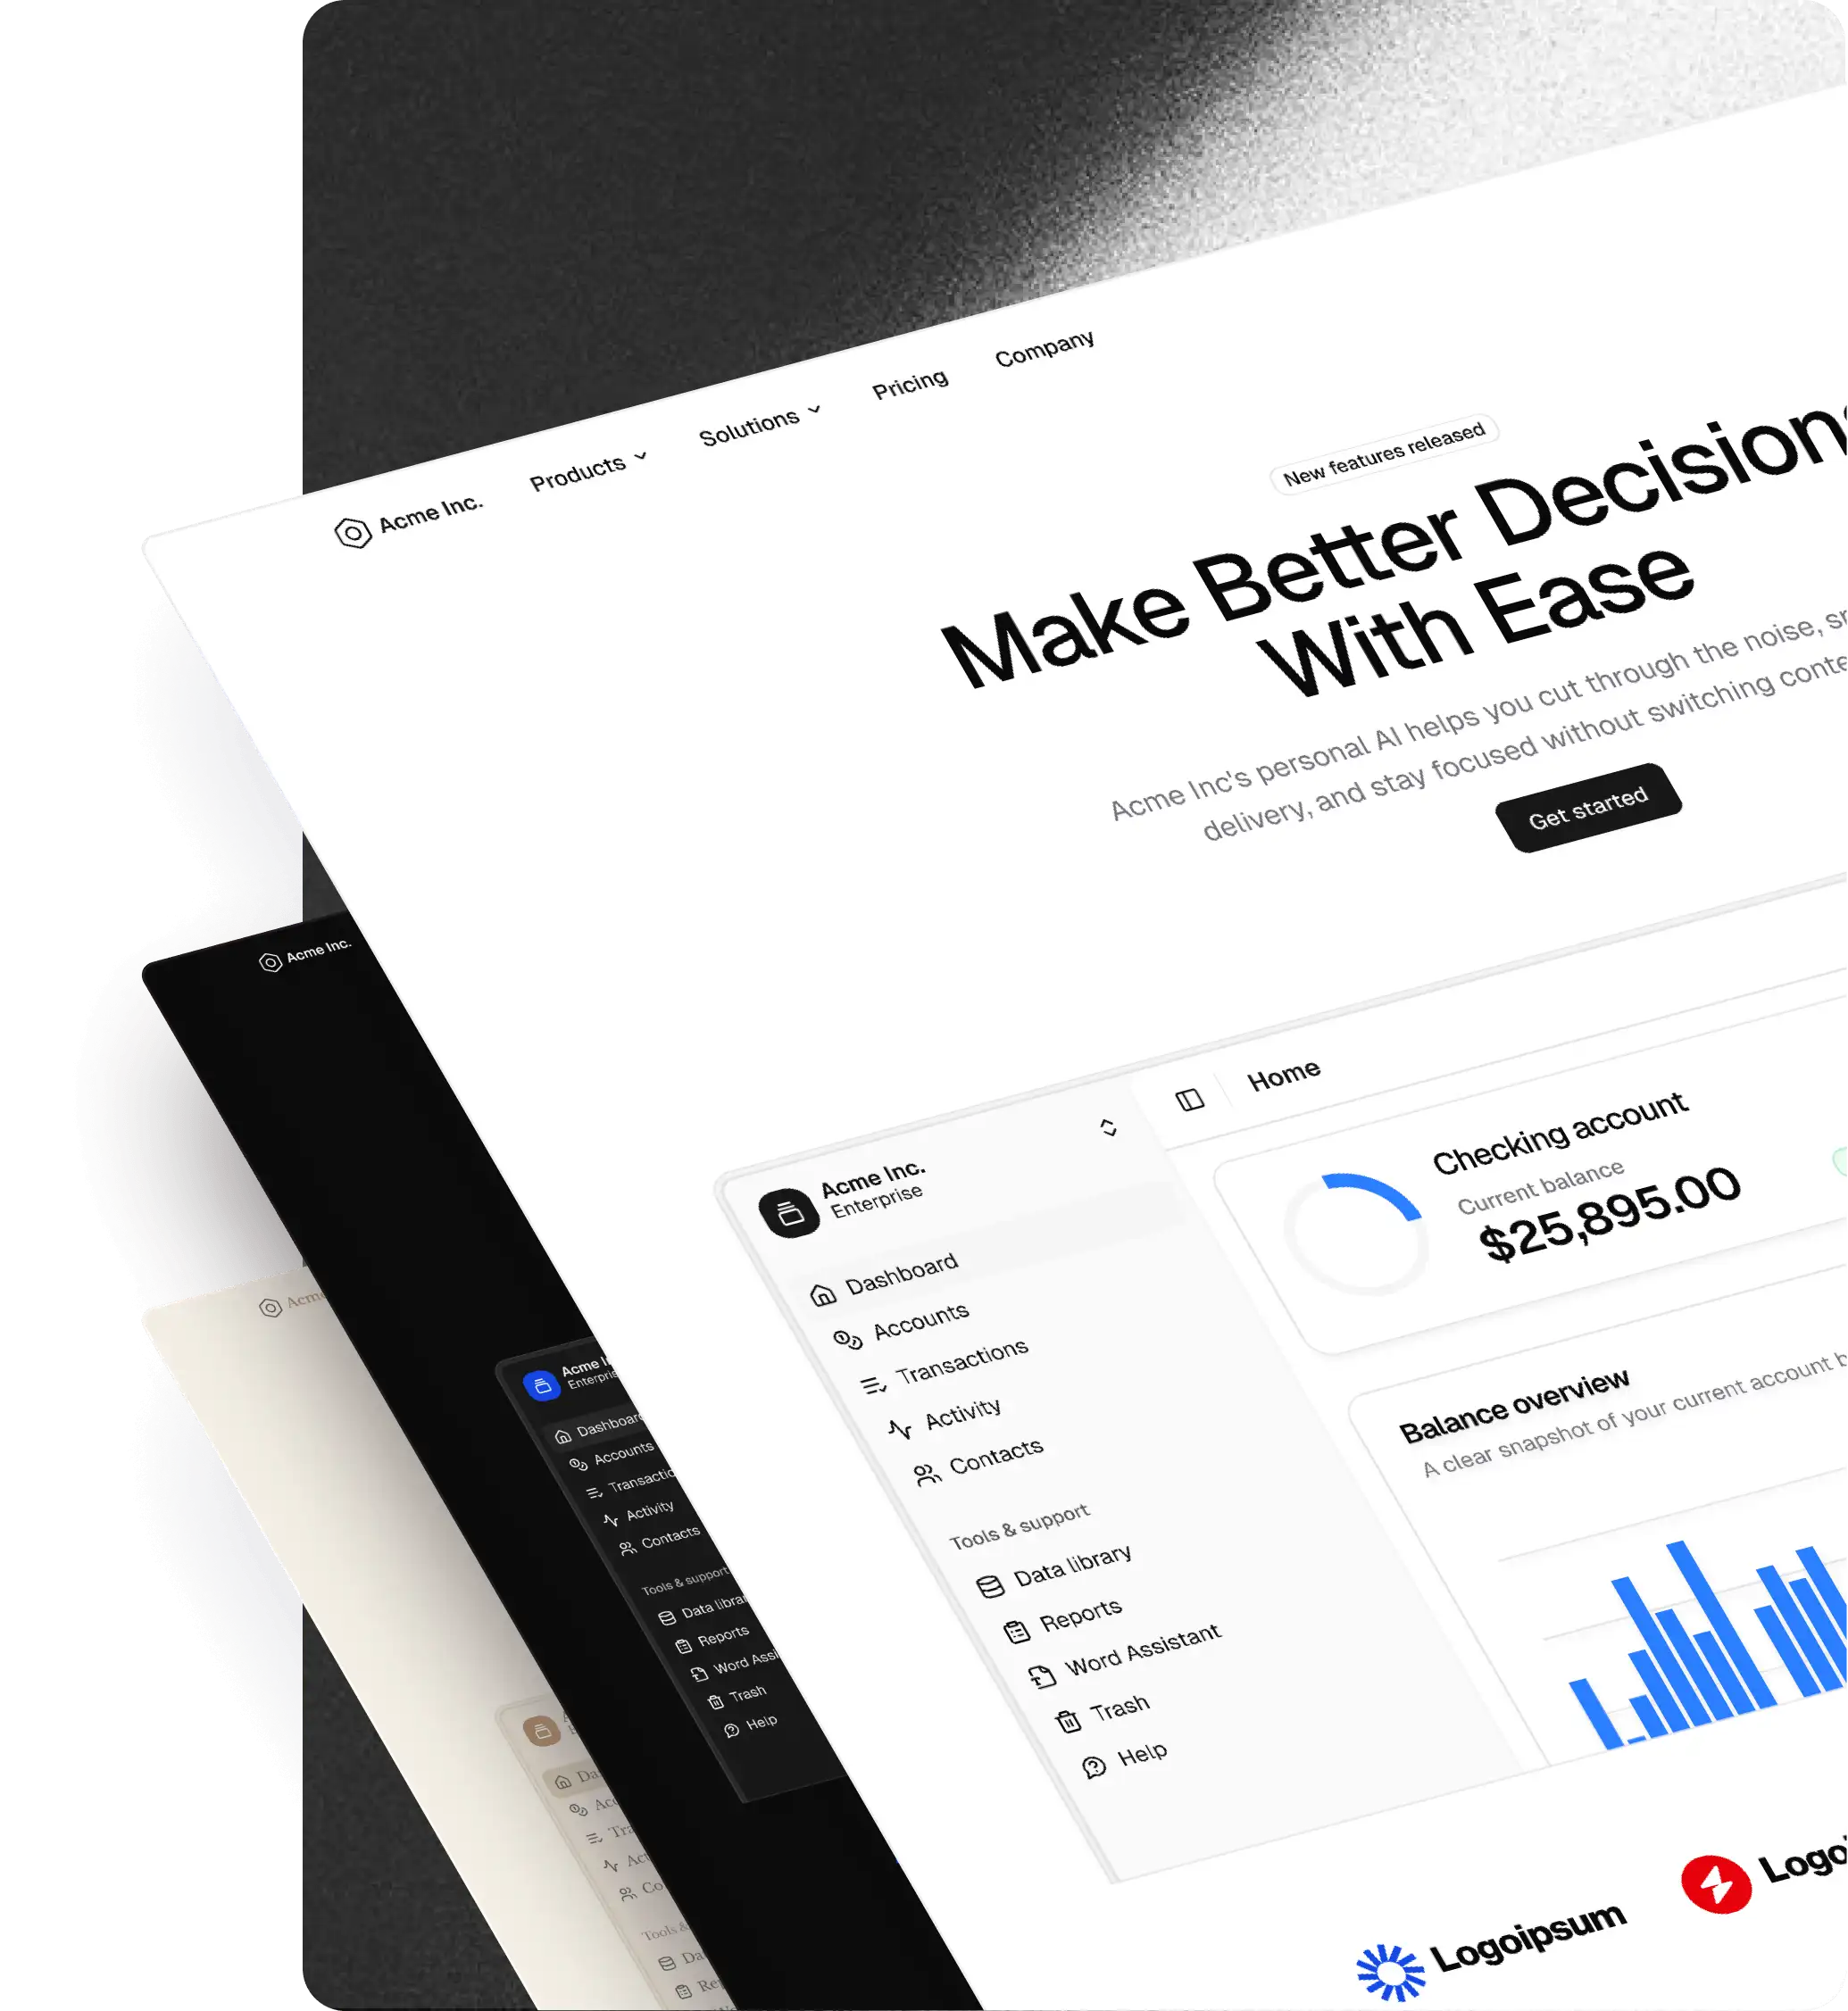
Figma to React with shadcn/ui: Claude Code, MCP, and GitHub
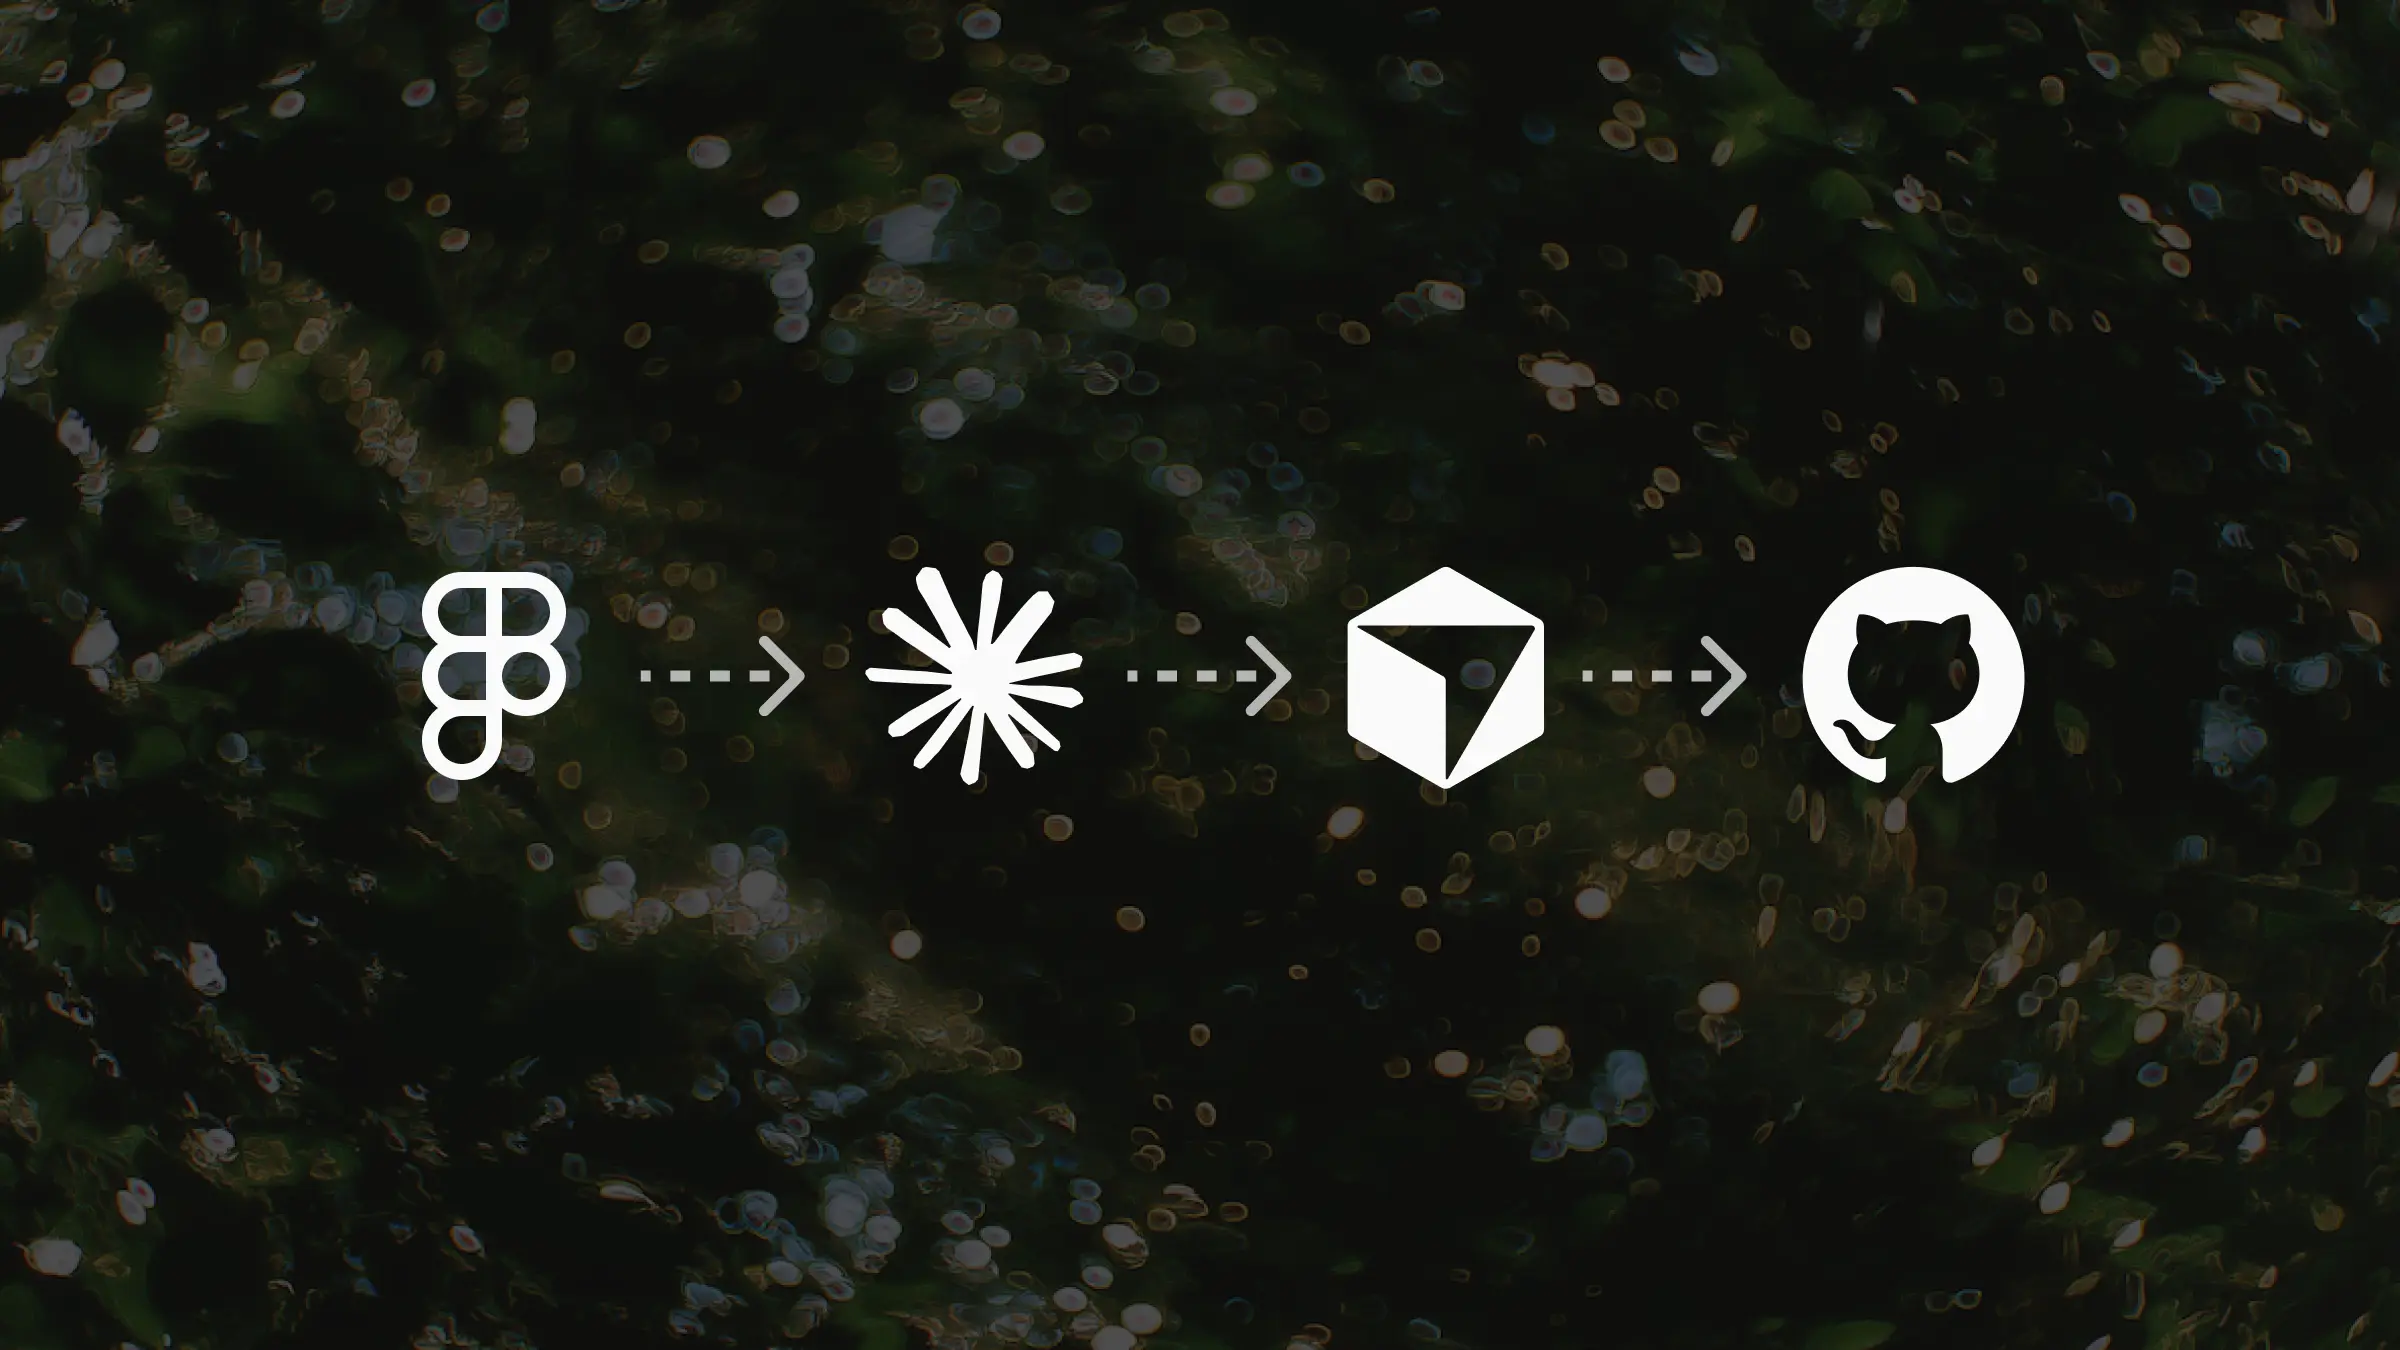
The full Figma to production React workflow, start to finish. Assemble a landing page from shadcncraft blocks, theme it with the shadcncraft plugin, connect the Figma MCP to Claude Code, generate the build with agent skills, and push it to GitHub. Written for designers and non-technical people who are new to AI tools.
This is the written version of the video above. Every step is covered in detail, including the two setup gotchas that tripped me up on camera. If you want the conceptual background on why this workflow works, read From Figma to production React, with AI in the loop first. This post is the hands-on tutorial.
What you need:
- The shadcncraft Figma kit. The free kit works for most of this. The generated build in this tutorial uses Pro blocks, which need the Pro Figma + React bundle (or Pro React for the registry alone)
- Figma with Dev Mode access, for the MCP server
- The Claude desktop app (Claude Code)
- A code editor like Cursor to view files. Optional, but helpful
- A GitHub account for the final step
Step 1: assemble the page in Figma
Start with an empty frame. I set mine to 1440 wide using the large screen variable from the kit, then press Shift A to turn it into an auto layout frame.
Set the frame gap to zero. shadcncraft blocks have their padding built in, so you don't need to manage spacing between sections yourself.
From there, drag in the blocks you want. I pre-selected a hero, a few feature sections, and a footer that work together as a landing page. Name your layers as you go. It matters later, because the AI reads them.
At this point the page works, but it looks like shadcncraft out of the box. Time to apply a brand.
Step 2: theme it with shadcncraft Create and the Figma plugin
Open shadcncraft Create in your browser. It works like the official shadcn/ui Create page, with one difference: you can preview your brand against real Pro blocks, including the new tables, live in the browser. Shuffle through presets or set your own colors, icons, and corner radius until it looks right.
Copy the preset code, then open the shadcncraft Figma plugin and paste it in. The plugin creates a new mode in the kit's style collection, built from native Figma variables. That takes a moment because it's creating a lot of variables.
Once it finishes, select your landing page frame and switch it to the new style. Typography and colors apply across the whole page in one step, and the style includes both light and dark mode. Because these are native Figma variables, you can open the collection and edit any of them directly.
Step 3: enable the Figma MCP server
This is what lets Claude Code read your Figma file instead of guessing from a screenshot.
In Figma, switch to Dev Mode and click Enable MCP Server. That's the whole step.
Step 4: set up your project in Claude Code
Open the Claude desktop app and sign in. Create a new project and point it at a fresh folder. I called mine "demo landing page." Trust the folder when prompted.
If you use Cursor or another editor, open the same folder there too. You don't need it to complete the workflow, but it's useful for viewing and editing the files Claude creates.
Step 5: initialize shadcn with the Create command
Back on the shadcncraft Create page, copy the install command for your chosen setup. You can pick your component base here (shadcncraft supports both Radix and Base UI) and a starter template. The command installs shadcn/ui with your theme as the project default, plus everything needed for a working landing page.
Run it in your project folder, give the app a name, and after a few minutes you'll have an initialized project. Open components.json to see what was applied: icon style, registries, and where components come from.
Step 6: install the shadcncraft Pro registry
The landing page in this tutorial uses Pro blocks, so the project needs access to the Pro registry. Follow the registry installation guide.
The short version:
- Get your license key from the Polar portal and activate it
- Create a
.env.localfile and paste in your license details - Confirm the shadcncraft registry is listed under
registriesincomponents.json(the Create command adds this for you)
Gotcha 1: the registry looks for .env.local, not .env. If Claude reports it can't find your license key, check the filename.
Gotcha 2: the env file has to live inside the app folder the init command created, not the project root. The AI won't find it otherwise.
Step 7: install the shadcncraft agent skills
Skills are what make the difference between a faithful build and a lookalike.
In the Claude desktop app, go to Settings, then Capabilities, and turn on code execution and file creation. The skills need both.
Then go to Settings, then Skills under Customize, and upload the skill files you downloaded from the Polar portal. Once installed, they're available in every Claude Code session. Full installation docs are in the agent skills installation guide.
Step 8: generate the page
In Figma, select your frame and press Command L to copy its link. Then prompt Claude Code:
Build me this landing page using shadcncraft generate code. [paste the Figma link]
Here's why the skill matters. Without it, AI tools tend to generate custom code that looks like the blocks but isn't them. You lose the responsive behavior and the details built into each block. The generate code skill makes Claude pull the actual blocks from the registry, matching the component names in your Figma file to the registry items.
The skill also extracts assets. Images applied to frames in Figma usually don't survive an AI handoff, and you end up placing them manually. The skill pulls them out of Figma and into the build automatically.
After a few minutes, Claude finishes and starts a local dev server. Open the URL in your browser and you'll see the page, matching the Figma design.
Step 9: fix any color drift with import variables
On my build, the primary green rendered slightly differently than in Figma. This happens, and there's a skill for it.
Install the import variables skill the same way as before (available with Pro React and Pro Figma + React). Then type / in the Claude Code chat to open the skills menu and run import variables. It reads the variables from your Figma file and aligns the project's CSS variables to them, so Figma stays the source of truth for your theme.
Step 10: push to GitHub
The local dev server only exists on your machine. Sending someone a localhost URL won't work, so the last step is getting the project somewhere shareable.
Install the GitHub integration for Claude Code. This one runs in the terminal, but it's a few simple commands and you only do it once.
Then just tell Claude Code:
Make a new repo under [your account] and push this project there.
Choose public or private, give it a name, and it's up. Your developers can clone it, review it, and sync changes. If you connect a Vercel account, you can also publish to a live URL and share the site externally.
You could use the GitHub desktop app instead, but I mostly let Claude Code manage it now. Everything stays in one place.
Recap
- Assemble the page from blocks in Figma, auto layout, gap zero
- Theme it with shadcncraft Create and the Figma plugin
- Enable the Figma MCP server in Dev Mode
- Create a project in Claude Code
- Initialize with the Create command
- Add your Pro license in
.env.local, inside the app folder - Install the agent skills and enable code execution
- Prompt with your Figma link and the generate code skill
- Run import variables if colors drift
- Push to GitHub through Claude Code
Once the MCP servers and skills are configured, repeat builds skip steps 3 through 7 entirely.
Try the free Figma kit to test the workflow, or compare bundles if you want the Pro blocks and registry used here.